Before going any further make sure you meet all the requirements.
¶ Getting Started with ProfitTrailer on Windows
First of all, note that running the bot 24/7 is not possible if you allow your PC to fall asleep or close a laptop as the bot will not run anymore.
You may want to consider using a VPS before installing it on a dedicated computer.
¶ 1.Installing Java 8
Download and install Java 8:
https://adoptium.net/temurin/releases/?version=8&os=windows
Note: Make sure you pick Java version 8
¶ 2. Downloading ProfitTrailer
Go to this link: https://github.com/taniman/profit-trailer/releases.
Download the latest release.
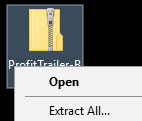
2.1 Right click on the zip and select Extract All.

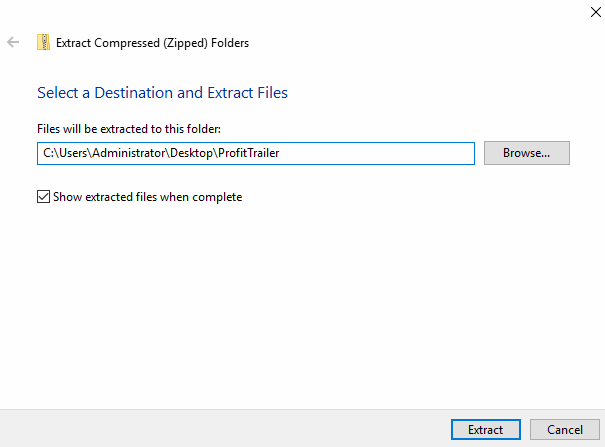
2.2 Choose a location to extract to, for example on the desktop.

2.3 Double click the ProfitTrailer Folder to open it. Note how the folder icon looks different once it is extracted correctly.

2.4 You may find it helpful to show windows file extensions.

¶ 3. Running ProfitTrailer
Double click the Run-ProfitTrailer.cmd file which will launch the bot.
The CMD file executes the following command:
java -Djava.net.preferIPv4Stack=true -Dsun.stdout.encoding=UTF-8 -XX:+UseSerialGC -XX:+UseStringDeduplication -Xms64m -Xmx512m -XX:CompressedClassSpaceSize=300m -XX:MaxMetaspaceSize=128m -jar ProfitTrailer.jar
pause
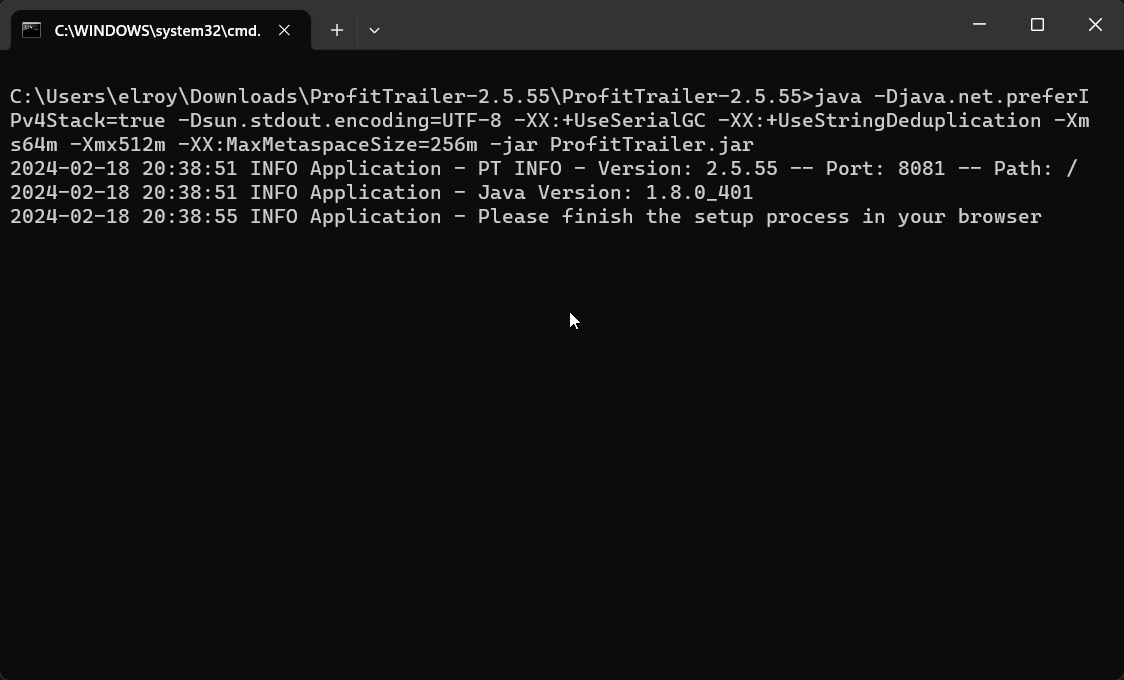
A black CMD Prompt window should appear and the bot is now booting up. Leave this window open and avoid clicking anywhere in the black area - it is the bot!
If you close it, the bot will stop. In the CMD Prompt you will be prompted to complete the rest of the setup using the Web Interface. If you see any errors instead, consult the Common Errors Page.

Your ProfitTrailer bot is now up and running. Congratulations!
If the browser did not open automatically check the port that the bot is using in the cmd window.
INFO Application - PT INFO - Version: 2.5.55 -- Port: 8081 -- Path:
The default port is 8081 but may be different. Type http://localhost:8081 into your browser
¶ Running a second bot
To run a second ProfitTrailer bot. Go back to step 2.
On step 2.2 choose a different folder name for your bot.
The rest of the steps are the same.
You should now have 2 black windows open if you have 2 bots running
¶ What next?
To continue with the setup see the Initial Setup Guide.